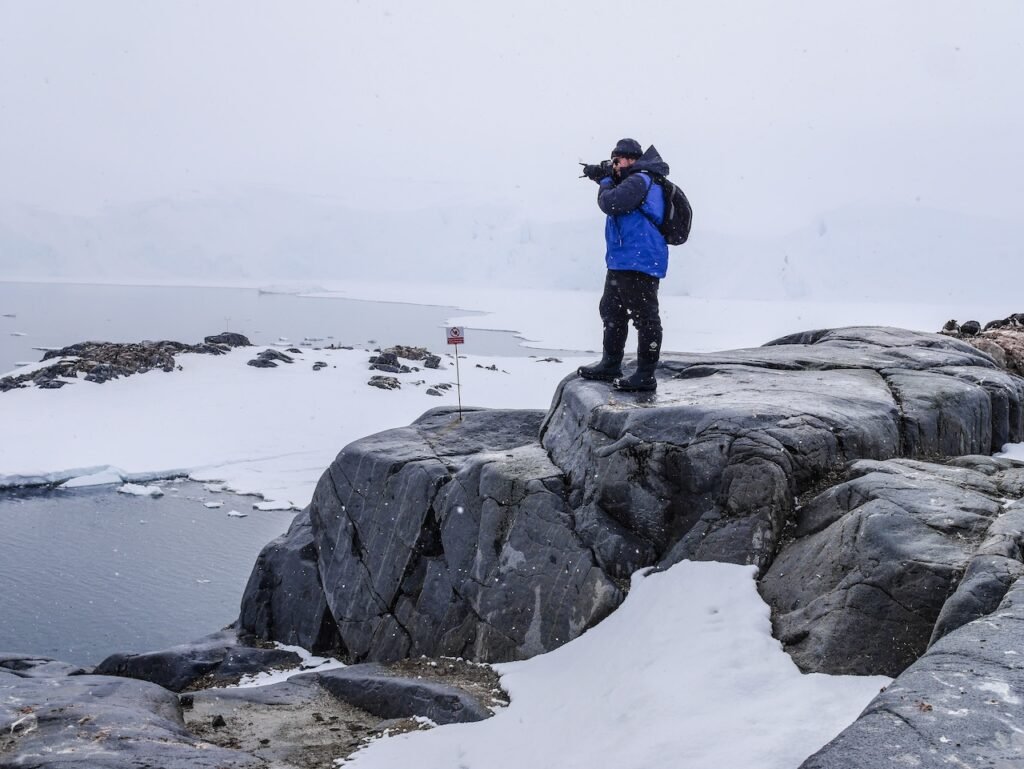
Photographing in the polar regions is one of the most rewarding — and challenging — experiences you can have with a camera. Here’s how to ensure you come home with fantastic photos as well as unforgettable memories.
In the polar regions (always my all-time favourite assignments), the light is often magical, the landscapes dramatic and ever-changing, and the wildlife abundant and remarkably approachable. However, the conditions can be harsh: freezing temperatures, strong winds, salt spray, and rapidly shifting weather all test your gear and your skills.
Having been fortunate enough to travel to both the Arctic and Antarctic on assignment, I’ve distilled the best polar expedition photography tips to help you come home with powerful, memorable images from your 2026 polar expedition cruise. Whether you’re heading to Svalbard, Greenland, the Canadian Arctic, the Antarctic Peninsula, or South Georgia, these practical, field-tested techniques will prepare you for capturing the frozen realms in all their glory.
Prepare Your Gear for Extreme Polar Conditions
Cold is the biggest enemy of camera equipment in the Arctic and Antarctic. Batteries drain much faster in low temperatures, and condensation can quickly ruin lenses and sensors when moving between warm ship cabins and freezing air.
Essential gear recommendations for polar photography
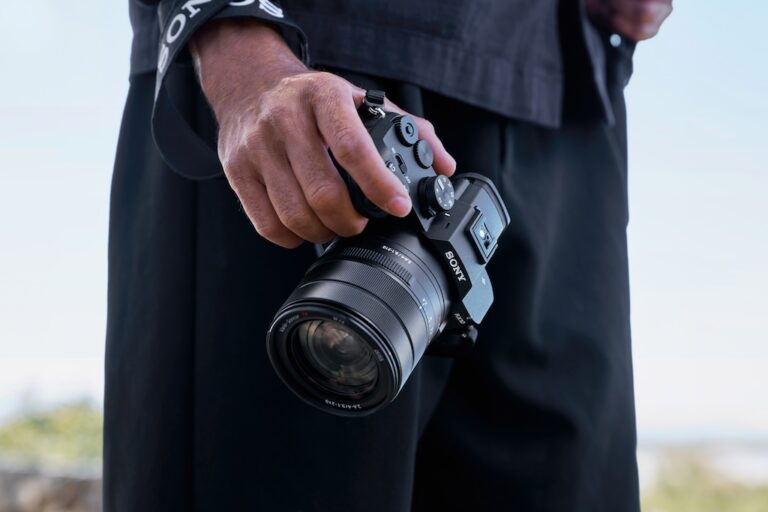
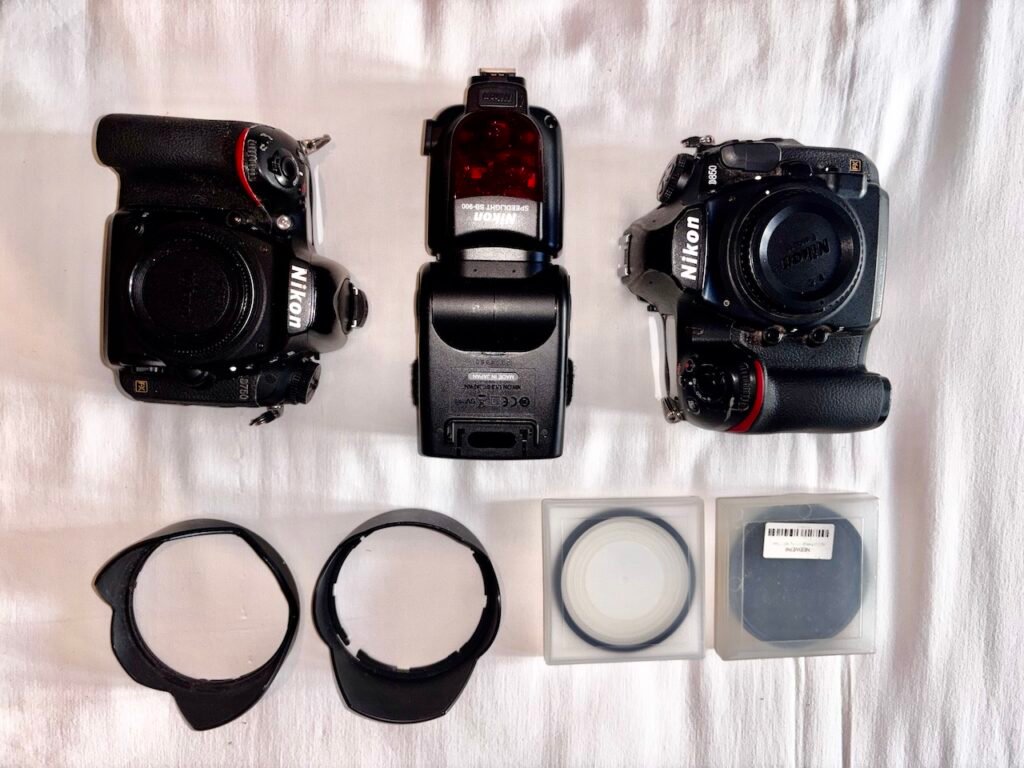
– Camera body: Choose a weather-sealed mirrorless or DSLR with excellent low-light performance. Popular 2026 choices include the Nikon Z8/Z9, Canon R5/R6 Mark II, or Sony A1 for their durability and autofocus (although I’m still a fan of my trusty Nikon D850, it’s built like a tank). Bring two bodies if possible — one fitted with a telephoto zoom for wildlife and another with a wide-angle lens, providing a reliable backup in harsh conditions and reducing the need to change lenses in tricky (and often dusty) conditions.
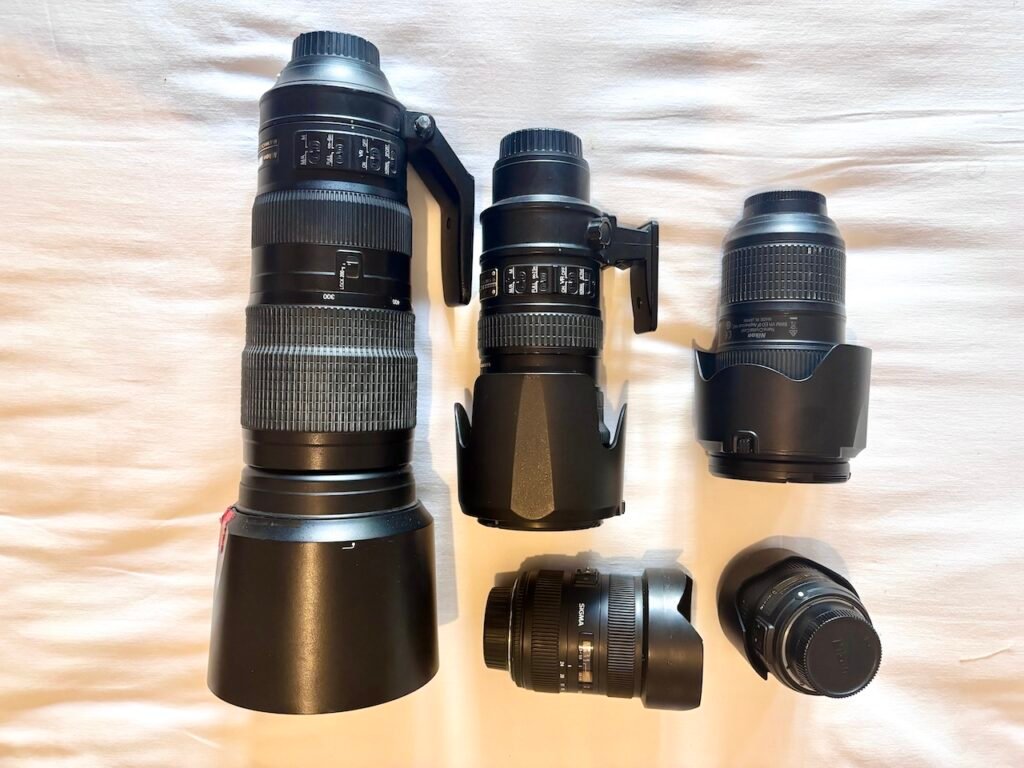
– Lenses: A versatile telephoto zoom such as 100–400mm, 100–500mm, or 70–200mm f/2.8 is ideal for wildlife (my usual go-to is a Nikon 200-500 mm f5.6). Pair it with a wide-angle zoom (16–35mm, 15–35mm, or 24–70mm) for sweeping landscapes, icebergs, and environmental portraits. A macro lens can also help capture intricate details of ice formations or small creatures to give your photo collection a little more diversity (don’t forget to snap pics of your fellow passengers, these cruises are great for finding new travel buddies). I also pack a wide angle (12-24 mm for dramatic ship’s bow landscapes).
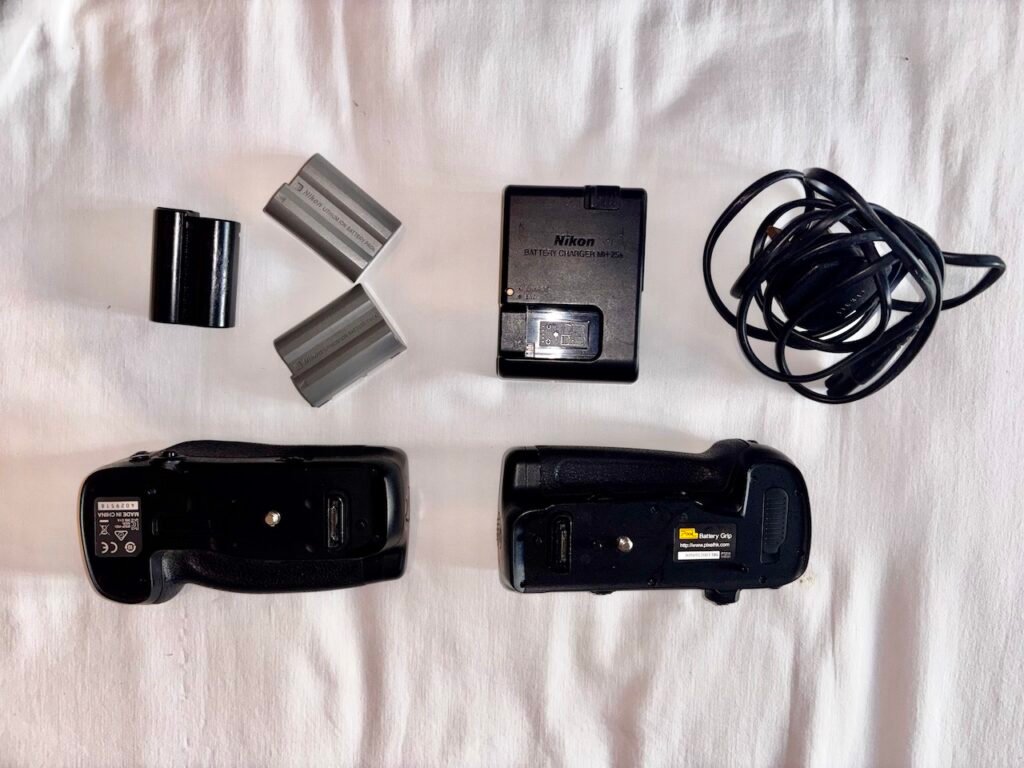
– Batteries: Pack at least twice as many as you think you’ll need — cold can halve battery life in as little as 45 minutes. Keep spares warm inside your jacket or parka pocket and bring a charger with the correct power adapters for the ship.
– Memory cards and storage: Use fast, high-capacity, reliable cards. Cold slows write speeds, so opt for premium brands. Bring a laptop and at least one external hard drive (I always bring two as they can be finicky) for daily backups.
– Protection: A dedicated camera rain cover or waterproof housing is essential. Lens hoods protect the front element from spray and reduce flare but a large ziplock bag or dry bag helps manage condensation when transitioning between the ship’s humid interiors and the dry, freezing polar air. A sturdy camera harness is also invaluable on Zodiac cruises for keeping hands free during landings (I always pack a little foldable dry bag for Zodiac trips).
– Support: A lightweight tripod or monopod helps with low-light or long-exposure shots, though many photographers shoot handheld for mobility during Zodiac excursions and shore landings.
Pro tip: Test your entire setup in cold conditions (a freezer or a cold winter day) before departure to spot any weaknesses. In 2026, mirrorless systems with electronic viewfinders are particularly popular because they let you review exposures without removing your eye from the scene, even when fingers are numb.
Master the Unique Polar Lighting Conditions
In polar photography, light is everything — and in the Arctic and Antarctic, it behaves unlike anywhere else. The low angle of the sun creates long shadows, beautiful side-lighting, and extended golden hours, especially during shoulder seasons.
– Make the most of early morning and late evening sessions for the softest, most flattering light (don’t worry, the ship’s crew are well versed in waking up the masses well before dawn).
– Overcast days are actually a gift: the diffused light delivers excellent colour saturation and detail, perfect for penguin colonies or close-up wildlife portraits. They also make for some lovely, moody landscape shots.
– On bright sunny days, strong contrast is common. Use exposure compensation (+1 to +2 stops) to prevent underexposed subjects against brilliant white snow and ice.
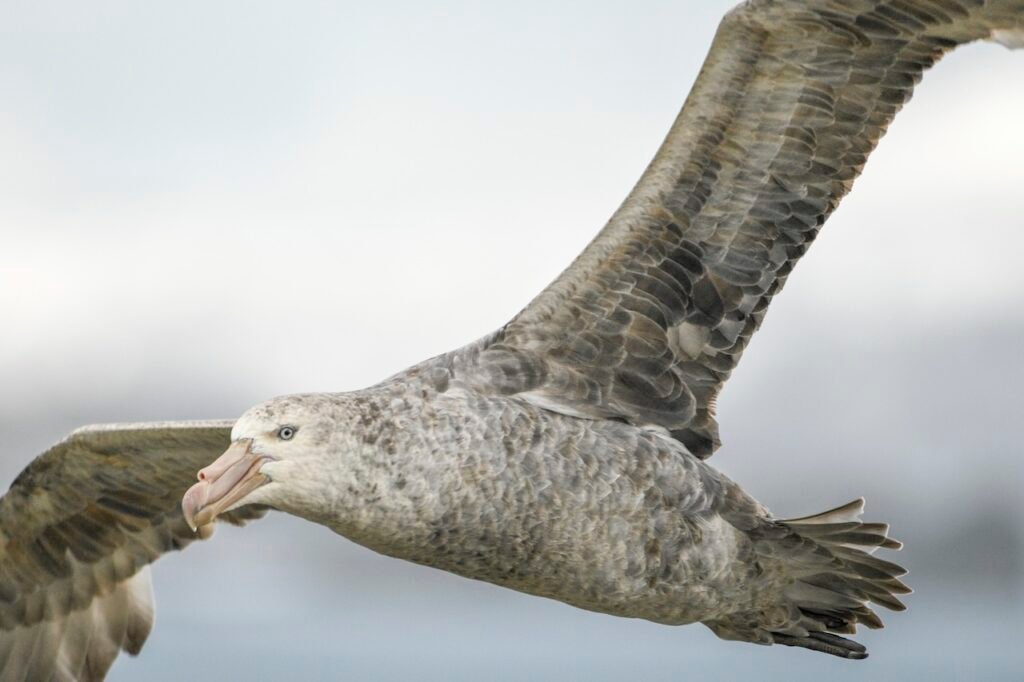
– Backlighting produces dramatic silhouettes of icebergs, seals, or soaring albatrosses.
Always shoot in RAW format for maximum flexibility to recover highlights and shadows in post-processing. A circular polarising filter can sometimes help reduce glare on water (though opinions vary — test it on your specific lenses, as it may darken scenes too much on bright ice days).
Wildlife Photography Techniques in the Polar Regions
Polar animals are often surprisingly cooperative, but success still depends on good field craft and respect for the environment.
– Get low: Eye-level or ground-level perspectives create powerful connections with penguins, seals, and birds. Kneel or lie down safely when possible
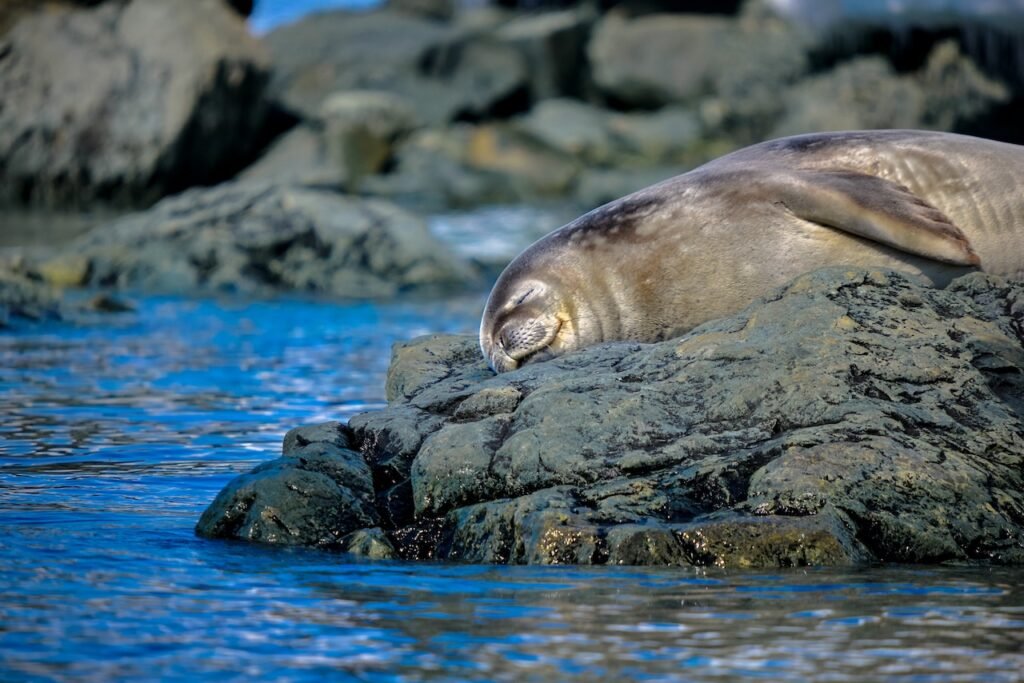
– Be patient: The best shots frequently come when you stop moving and let curious animals approach you. Sit quietly near a penguin colony and wait — individuals will often waddle closer (like this elephant seal pup who came over to melt my heart in Antarctica).
– Anticipate behaviour: Watch for patterns — a penguin preparing to dive, seals sparring, or an albatross landing. Burst mode (continuous shooting) is invaluable here (I always use 1/2500 shutter speed for birds in flight).

– Respect distance rules: Always follow the two-metre (or greater) guideline in Antarctica and equivalent regulations in the Arctic. Quality images come from patience, not proximity.
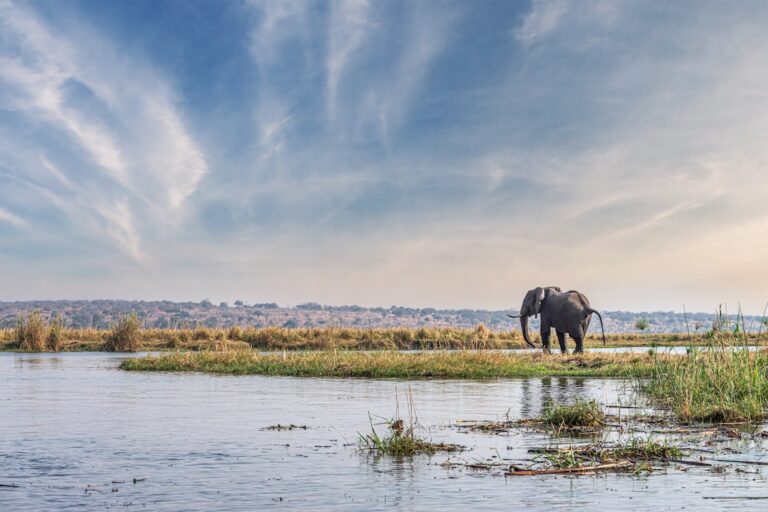
– Include context: While tight headshots are tempting, environmental portraits — a lone penguin against a vast icy landscape or a polar bear on a small floe — often tell a more compelling story.
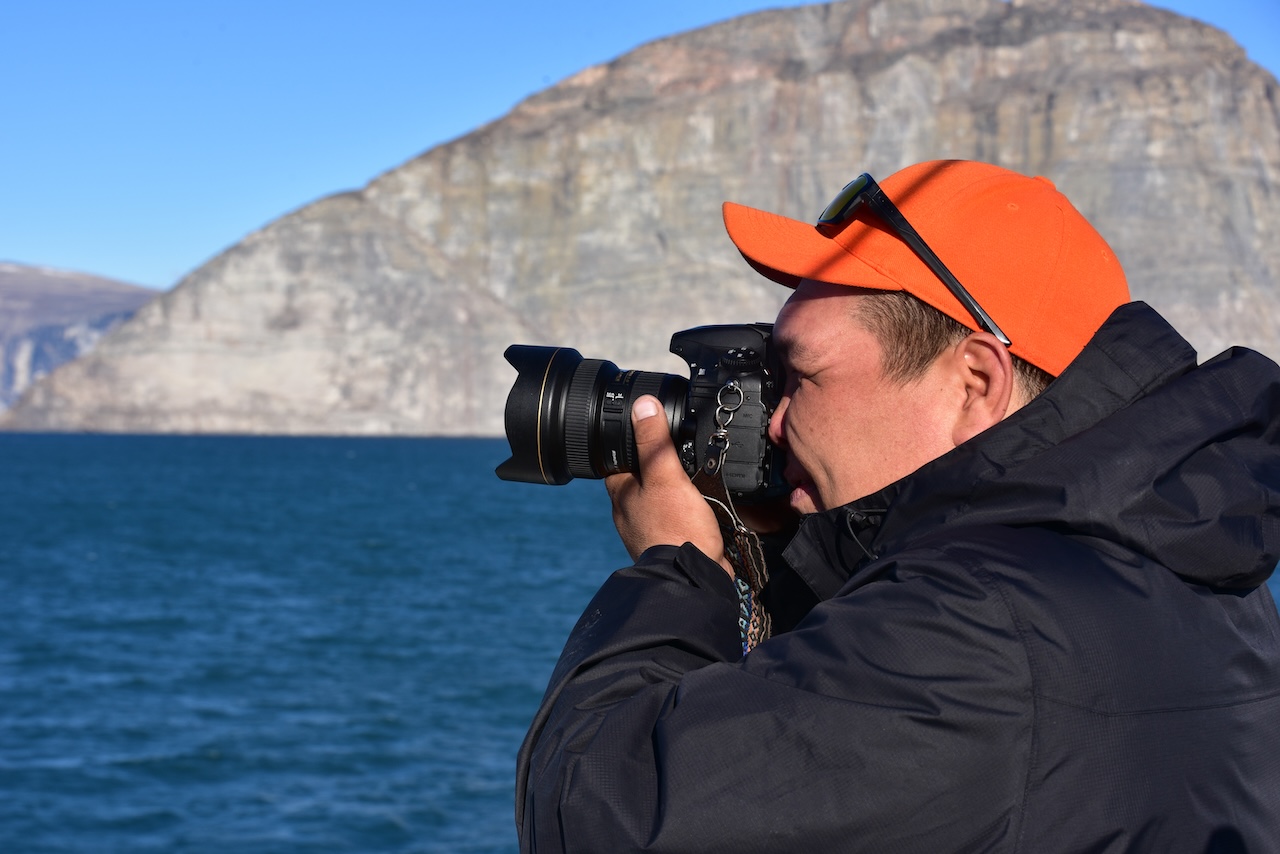
From Zodiacs, image-stabilised telephoto lenses or a waterproof action camera (I use the DJI action but there are tons of brands available these days) work well for marine mammals and birds. A sturdy harness keeps your gear secure when bracing against waves.
Landscape and Ice Photography Tips
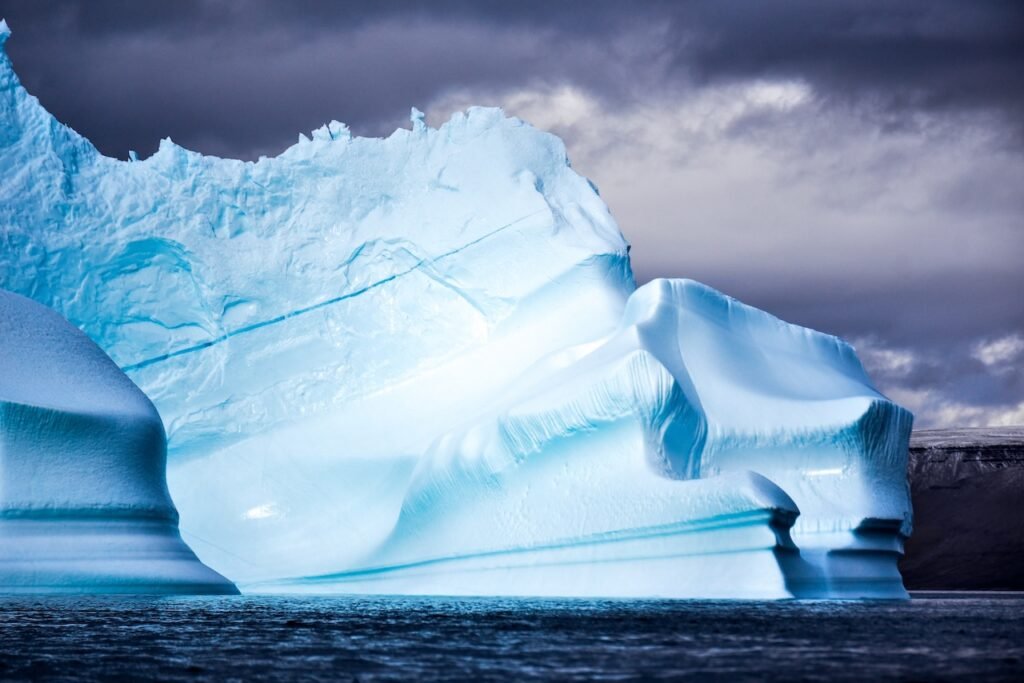
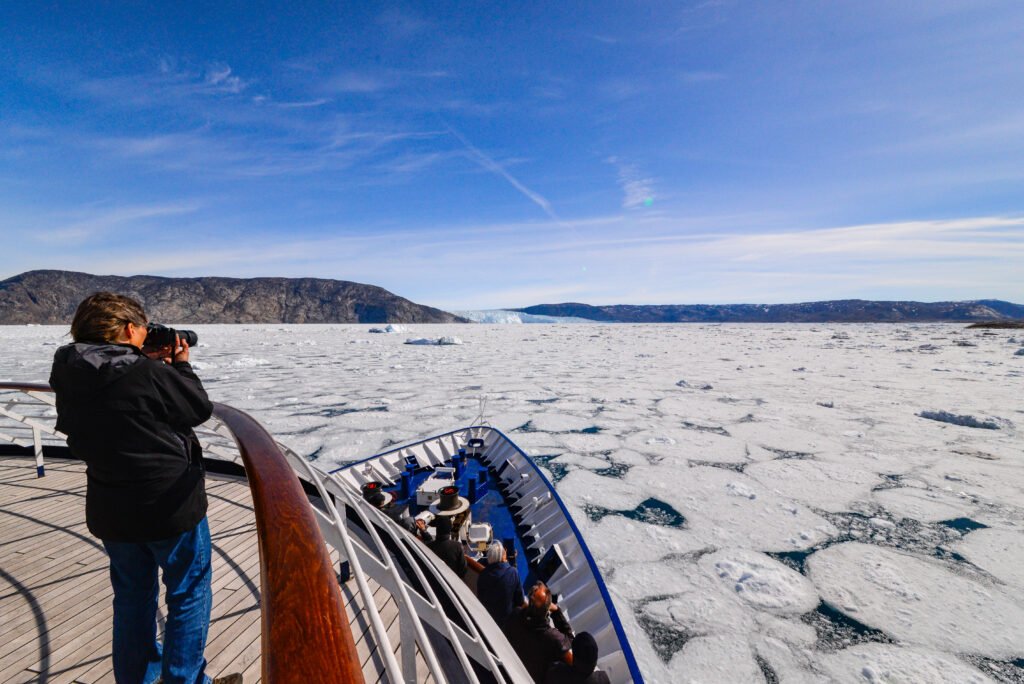
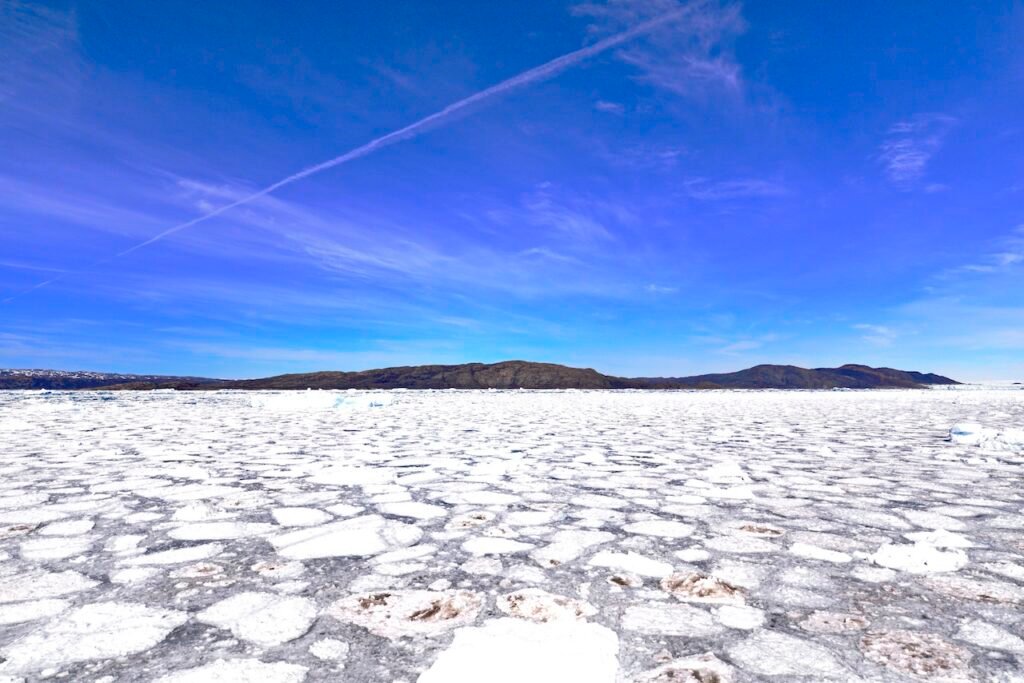
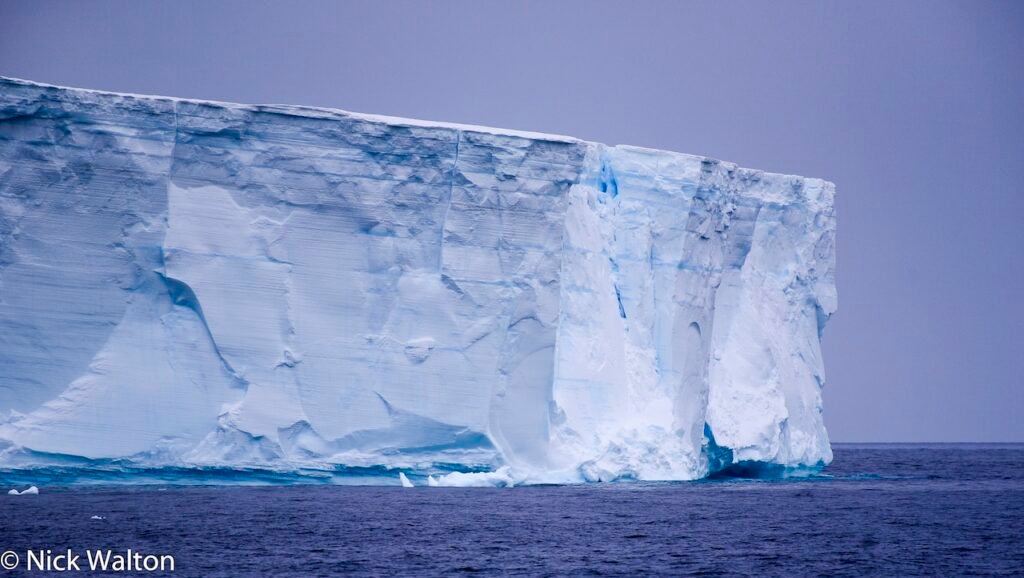
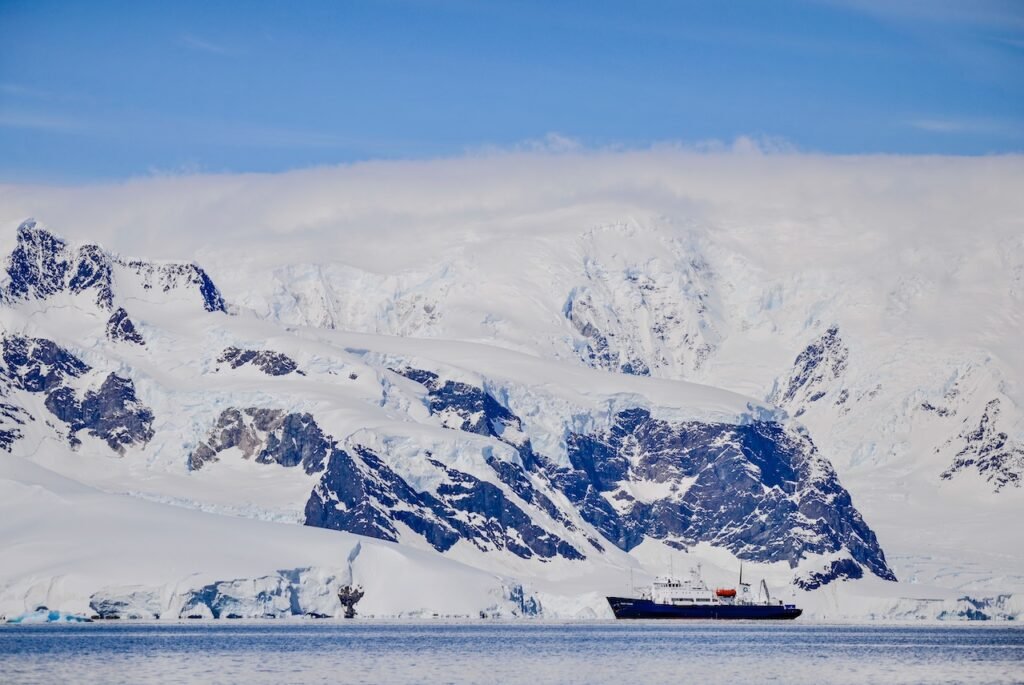
The polar regions offer some of the most dramatic landscapes on Earth, from towering icebergs to cracked sea ice and dramatic fjords.
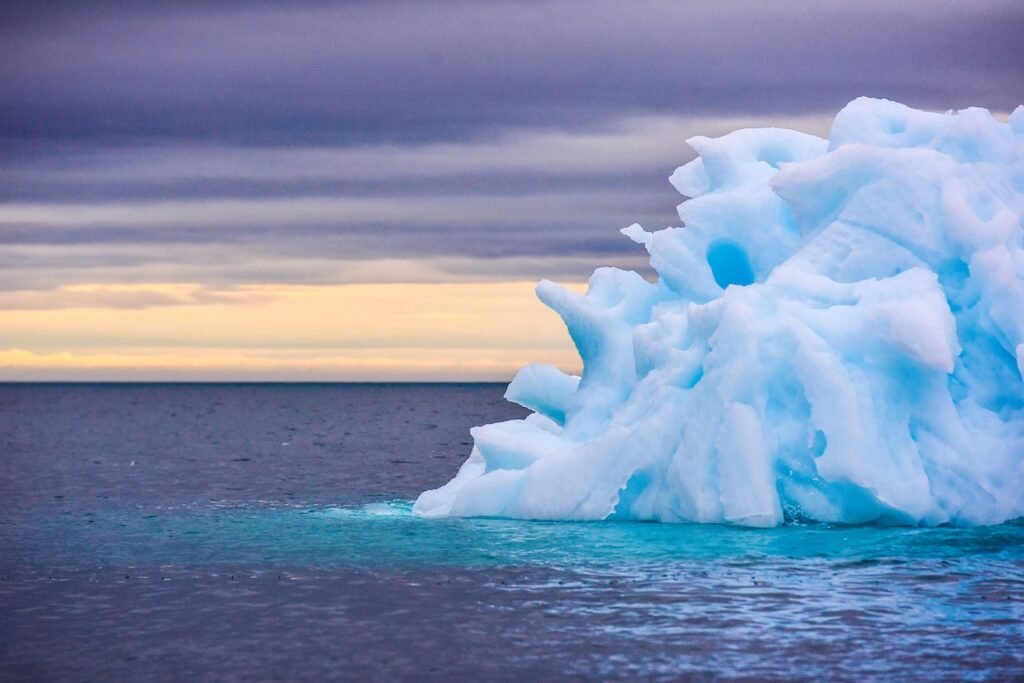
– Composition: Use leading lines — cracks in sea ice, glacier ridges, or the curve of a fjord — to guide the eye. Include scale elements, such as Zodiacs beside massive icebergs (like this one I took in the Canadian Arctic), to convey the immense size.
– Colour and contrast: Look for subtle contrasts — vivid blue ice against white snow, or the warm orange of a polar bear against cool grey tones.
– Reflections: Calm mornings and evenings in protected bays create mirror-like reflections of icebergs and mountains.
– Movement: Experiment with slower shutter speeds (using a tripod or stabilised lens) to convey the gentle motion of drifting ice or waves for added dynamism.
Practical Field Techniques for Polar Conditions
– Stay warm while shooting: Wear thin liner gloves under insulated mittens. Chemical hand warmers inside gloves make a huge difference during long sessions.
– Manage condensation: When moving from a warm cabin to cold air, keep your camera inside a sealed bag until it reaches ambient temperature (you;ll be rewarded for your patience) to prevent moisture on lenses and sensors.
– Battery management: Turn the camera off when not in use and avoid excessive image review in the cold. Store spares close to your body.
– Zodiac photography: Brace yourself, use image stabilisation, and consider a polarising filter for water glare. Shoot in burst mode during active wildlife moments.
– Safety first: Never let photography distract you from your surroundings. In the Arctic, polar bears demand constant vigilance; in Antarctica, shifting ice, slippery surfaces and weather require full attention.
Editing and Post-Processing Tips for Polar Images
Polar shots shot in RAW often need thoughtful editing (I use Lightroom but there are plenty of options) to reveal their full drama:
– Recover highlights in bright snow and ice.
– Boost clarity and texture on ice formations, fur, and feathers.
– Use selective adjustments to enhance the subject while preserving the natural vastness of the background.
– Try black-and-white conversions — the graphic shapes of icebergs and textures of snow often look striking in monochrome.
Final Advice for Polar Photography Success in 2026
The best polar expedition photographs come from a blend of thorough preparation, patience, and deep respect for the environment. Pack smart rather than heavy (and be sure to check lugagge restrictions on flights), move slowly and quietly around wildlife, and stay fully present in the moment. The most powerful images often emerge when you stop chasing shots and simply observe.
Remember that the experience itself — the crisp air on your face, the thunderous crack of ice, the curious gaze of a penguin — will stay with you longest. The photographs are wonderful souvenirs, but they are secondary to being immersed in these extraordinary places.
Whether you’re shooting with a smartphone, mirrorless camera, or full professional kit, the Arctic and Antarctic reward curiosity, patience, and wonder. Pack responsibly, shoot ethically, and let the ice and wildlife work their magic.
Safe travels on your 2026 polar expedition cruise — may it be filled with breathtaking light, unforgettable encounters, and images that truly do justice to one of the most remarkable places on Earth.
If you’re contemplating a polar cruise, check out our guides to Arctic expedition cruises, Antarctic expedition cruises, and the best expedition cruise destinations and cruise lines, as well as a few that have strong green creddentials. Also, don’t forget to brush up on your polar photography and polar videography skills, and to pack the polar essentials with our in-depth guides.